


![[2023 New] Wevac 10 inch Chamber Vacuum Sealer, ideal for liquid or juicy food including Fresh Meats, Soups, Sauces and Marin](https://images-na.ssl-images-amazon.com/images/I/61zfWSEDM8L._AC_UL160_SR160,160_.jpg)


![[2023 New] Wevac 10 inch Chamber Vacuum Sealer, ideal for liquid or juicy food including Fresh Meats, Soups, Sauces and Marinades. Visible vacuum degree, Professional sealing width, Commercial machine](https://m.media-amazon.com/images/I/41Ml3lU2iCL._AC_.jpg)


The media could not be loaded.
Enter the chamber vacuum sealer. I wasn’t even aware that home chamber sealers even existed until I started watching sous vide YouTube channels. As soon as I saw the first one, I wanted one. The only problem was that these things are big and expensive. For a home user that doesn’t need to seal huge amounts of food, it can be hard to justify the price. In my case, this was something I wanted but I don’t “need” it. You can sous vide without a sealer at all and my suction sealer worked fine for my purposes. For me, this is a luxury. The USV32 does strike a good balance though. It’s not as fast as the bigger, more expensive units but it is more affordable, smaller and virtually maintenance free. It weighs far less than the other units that I’ve looked at and this too is a big bonus. It fits under my cabinets but it’s more convenient to move out onto the counter so I can fully lift the lid. The lid does not have a nice raised section for larger items but it is curved and made from a heavy, solid glass. I don’t predict I will run into an issue with lack of space very often – the chamber is deep enough for a good sized roast. The build quality appears solid while keeping the size and weight down. The unit comes with a one year warranty with the ability to extend it to two years.
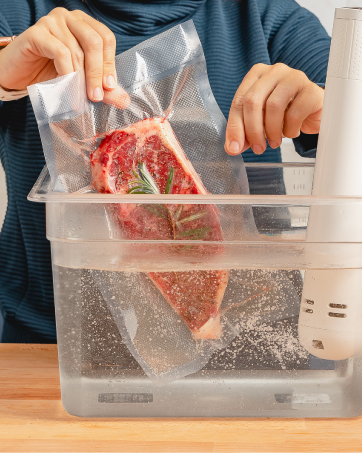
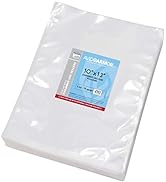
I just received the USV32 a few days ago but I had a London broil in the refrigerator and wanted to play with my new toy as soon as it arrived. It came very well packaged and includes brief but complete instructions, a nice selection of starter pouches, a spare gasket, a spare seal bar and a neat little test sealed fake avocado to show that your new unit was tested at the factory. All very nice touches. After breezing through the instructions, I was ready to try it out. I put the London broil into one of the large bags, added Worcester sauce, and started the first cycle with the default settings. I didn’t video the first suck but it was a beautiful thing! The first time you see the vacuum get released and that bag form to the pouch contents – liquids included – you’ll be convinced this thing is the coolest invention ever!
The attached video and pictures are from the results. I cooked the London broil for 16 hours sous vide @ 132°F. I then cooled it in the freezer for about 20 minutes before slicing it for future sandwich meat. I of course needed to vacuum seal the sliced meat and the video/pictures are from that process. I have absolutely no buyer’s remorse. Well worth the price and all the positive reviews!


